


Are you starting to get into underwater video and wondering… how do I make my videos look less blue/green?
Learning how to deal with the white balance for your underwater video will drastically improve content quality.
Most cameras these days are built for brilliant quality in both photography and video. Many of them are designed to give you tons of flexibility in their settings, but if you don’t know how to manipulate them, it doesn’t make much of a difference.
You can spend a lifetime learning the nuances of photography and videography, but if you are a scuba diver interested in making some underwater videos, mastering white balance is going to be key for you.
1. If the white balance can’t be adjusted much and you’re on a budget, get a red filter.
It’s not a perfect system, but it works. Be careful though! If you are shallow (less than 10 meters) don’t use it. Also, don’t film pointing up towards the surface with the red filter on unless you want to see pink/red footage when you review everything at the end of the day.
2. Set custom white balances for different depths.
As you dive deeper, everything looks more blue, right? This is due to the light absorption capacities of the water. Therefore within the first 10 meters, you already lose reds. Then, the deeper you go, the more colors you lose. Therefore, the intensity of red you need at 10 meters will not be the same as at 20 meters.
Each camera will be different, but many will allow you to set a couple of custom white balance settings. If possible, set them during your descent at a couple of depths so that they will be ready to go throughout your dive.

3. Set your function buttons for quick shifting between white balance settings.
Even if you are not getting into some of the other manual settings, at the very least, you will be able to choose between your custom white balances from the previous suggestion. This will make it easy to switch around quickly if you find that you need more or less reds when something cool comes into your viewfinder.
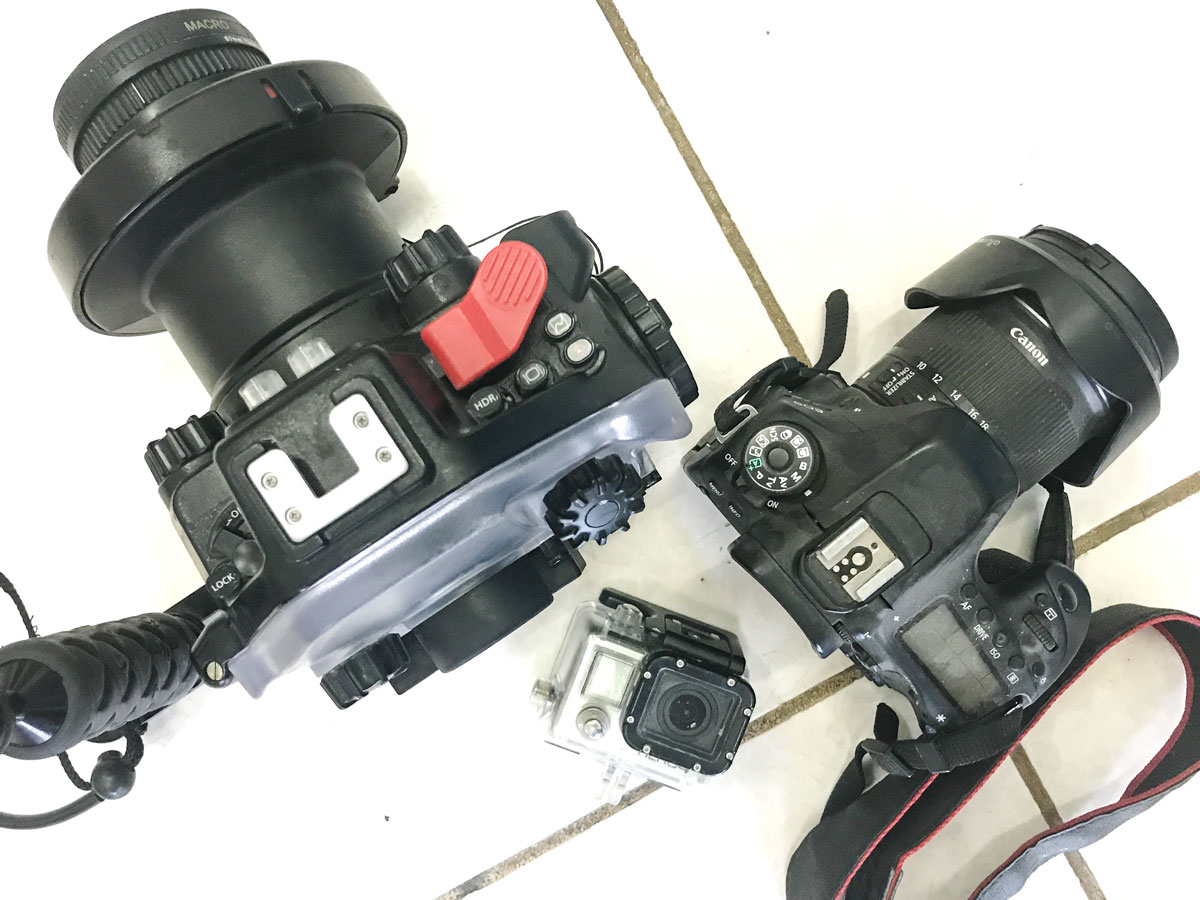
4. Next level: Set up powerful video lights.
This is the most expensive (and most effective) option. Proper video lights will cost hundreds of dollars. It’s generally a good idea to work on your videography skills and make sure it’s something you want to invest in before taking the plunge. Once you do get this kind of set up, the colors of the reef will truly be able to pop. You’ll also find that the quality of your video will improve because lights (both in video and photography) really make a huge difference.
It’s not all about the camera settings.
There is so much more to improve your content, but working on white balance for underwater video will allow you to see quick results. From there, start exploring more of the manual settings as well as fine-tuning your diving skills. It will really help if you develop solid buoyancy skills because your video will be more stable and easy to watch. Think about completing your Advanced Open Water Course with the Peak Performance Buoyancy Adventure dive in order to work on your skills!
Questions? Let us know in the comments below!
Sarah Miller
IDC Staff Instructor #320212
Azul Unlimited
We teach responsible scuba divers and ocean protectors. The brand is run by PADI IDC Staff Instructor Sarah Valdez who teaches scuba diving in person and on YouTube. Now she travels around the states and Mexico in her van scuba diving in new and different places. Follow her adventures on YouTube, Instagram, Facebook, and TikTok or join the Azul scuba community on Patreon.
Azul Unlimited is partnered with Azul Komodo, a top PADI IDC Center in Labuan Bajo, Indonesia offering daily dive trips to the Komodo National Park. Contact their team directly for an unforgettable experience diving in one of the top dive destinations in the world!