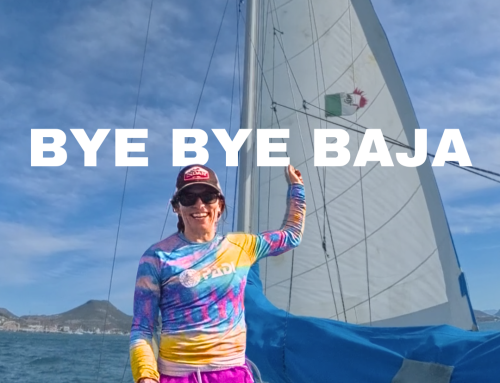


Dive day with Blue World
This dive day was a special one because I got to join Jonathan and his filming team from the popular YouTube channel Jonathan Bird’s Blue World on a six gill shark dive. It was really cool to see how Jonathan worked with his camera crew. I also got to learn about how he approaches his YouTube content and how his platform has served his life and career goals. I can’t wait to see the videos his team creates from his time in Washington.
Setting up your camera
Setting up the camera is really easy, just remember to turn it on and sync it with the insta360 app when you have service, before your dive. Then, you need to activate dive housing mode and this will make your housing mostly invisible (there are places in the footage where you’ll be able to see seams, but they’ve done a great job making it look as natural as possible). The dive housing mode also changes button functions to be compatible with the buttons accessible on the dive housing. The top button still serves as the on/off switch, but the button below becomes your recording option.
Just a little FYI, that Q button is programmable so when your camera is outside of the dive housing, you can adjust what function it performs.
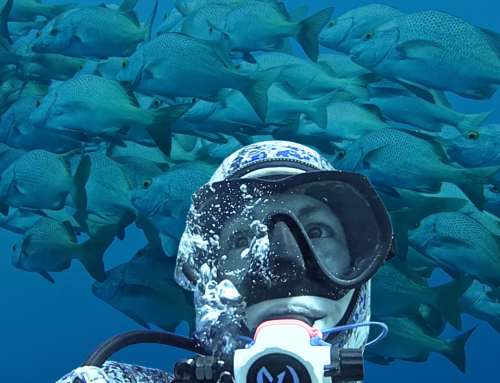
Sixgill sharks in Washington
Our little dive team geared up and headed to the water in the hopes of seeing six gill sharks here at Redondo in Washington. If you want to learn more about this dive site and the sharks, I did a whole video about them last year. Since I was a guest on these dives, my goal was to get some shots and play with the camera, but mostly I needed to stay out of the way of our two videographers.
Even so, I was able to get some sick footage of these deep water sharks.
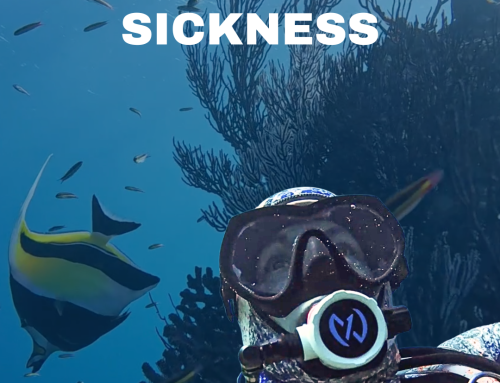
Insta360 X4 low light settings
I will give a warning. I didn’t have a preset for low light recording on these first dives so you’ll notice the footage is noisy. Every time you start using a new camera, it will take some time to work out the best settings for different kinds of diving and what I learned with this batch of videos is, I need to shoot at a higher resolution and bitrate (these were shot at 5.7k, 30 frames per second and 56Mbps bitrate).
Tips for first time use
It will feel weird to hold the camera straight out or above you at first. The first couple of videos I played with, I tried holding it horizontally to get landscape footage, but it’s not necessary with a 360 camera. The beautiful thing about this camera is it’s recording everything so you don’t have to worry about framing as much. You choose your aspect ratio (whether you want the footage to be vertical or horizontal formatting) in the app later. Also, one of the funnier things about editing this footage is seeing what your face does while you’re focusing on your subject.
The main thing you need to think about for framing is angle. You may want a cool wide angle shot of yourself or a pelagic creature, so send the camera away from your subject (although it can do close-ups too). Another thing to think about is lighting. As you have probably seen here, if you angle your light too close to the housing, it will show up in the footage. You can avoid this by mounting your light and camera, but I like the flexibility of using the telescoping selfie stick with the X4 and lighting my subject by hand.
My honest review of the camera
Now, you guys know I’m honest to a fault, so I have some notes on the Insta360. I originally purchased one of these cameras before I went to Indonesia. You would’ve seen topside footage from the 360 camera in all of those videos, but no underwater footage because I opted to take my Sony ZV1 and GoPro instead. I made that decision because I found the 360 to be super inconsistent. Sometimes it worked perfectly, other times, it wouldn’t start or stop recording.
I thought maybe it was a button issue so I programmed the Q button to be the record button, but it didn’t make a difference. It was really frustrating, but when it worked, I loved it. The footage is so fun to work with and I love getting all the different angles without having to run around and set up different shots. When I got back to the US, I contacted the company and didn’t have the best interaction with their customer service, so I actually returned the camera.
Flash forward about a month and Insta360 reached out about collaborating on the AcePro, which is their GoPro competitor, so I told them my story. This person was very helpful and set me up with a new X4 and the AcePro, the latter I’ll be talking about in a future video.
I share all of this because this new camera has the same issue of being inconsistent with its recording function. I don’t think it’s a deal breaker because the camera itself is so freaking cool, and again, I love how helpful it is as a solo content creator.
My hope in sharing this experience is to offer insight and help manage expectations of future X4 owners. I have heard from other users that their cameras are just sensitive to how you press the record button. You can go into your settings and turn off the option that says ‘Long press shutter button to cancel recording,’ which may help this situation. Either way, a quick tap works best to start recording. Whatever the issue is, my hope is that it will be fixed with a firmware update in the future, so I will keep you all updated on that.
Work flow with a 360 camera
Something else to consider with getting into 360 footage is that it does add an extra step to your editing workflow. When you synced your camera before the first use, you would’ve downloaded the Insta360 app and if your goal is to create short form, vertical videos, the workflow is actually quick fun and easy from your phone. The app is intuitive and you can quickly cut up what you need and export it to share on your favorite social media platforms.
For those of you, like myself, who are working with long form, horizontal (landscape) footage, you will need to download the desktop version of the Insta360 app. This is where the extra step come in, if you are mixing this footage with the rest of your work flow. You must process the footage in the 360 app, then you can either export it manually (which is what I do to work in DaVinci) or use the export options for Premier or Final Cut Pro from that app, which will send selected footage into your normal video editing software.
I originally found the desktop app to be less intuitive, but with a little practice, you will increase the speed of your workflow and for me, the extra steps are worth the effort for the footage I get.
For example, the footage of me in Indonesia seeing my old boat and crew for the first time in four years was such a beautiful experience. I was able to set my camera on record, focus on being in the moment, trusting that I would be able to catch all of the key angles to share the story.
To me, it’s worth all the bugs and extra labor.
Join me on upcoming Azul Unlimited dive expeditions
See what trips are coming up. I always give my community first dibs on spots, so you can sign up for Patreon (and get trip discounts) or my email list to be the first to know about new expeditions in the future.